Front Hub Bearing Replacement and End-float Adjustment
The front hubs on the Rover P4 have taper roller bearings, and are quite easy to work on.

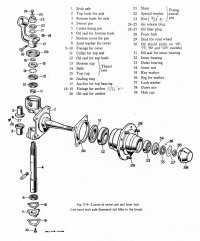
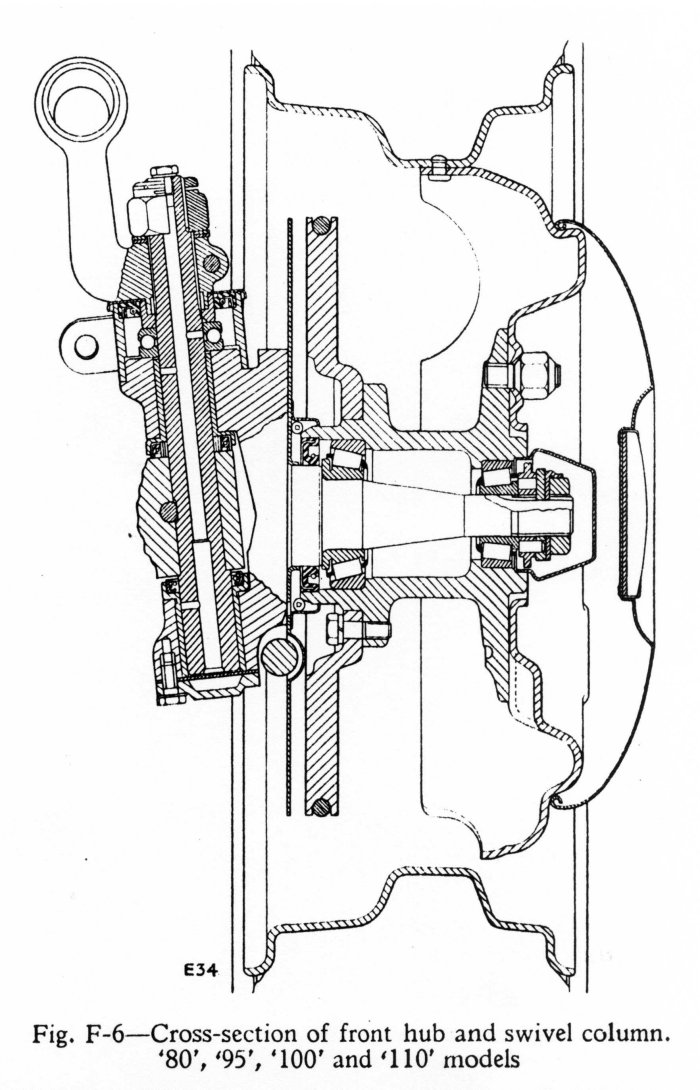
Here are sectional and exploded drawings of the front hub and kingpin for a later P4 with disc brakes.
You can click on either for a bigger version.
To remove the hub, first prise off the hub cap, knock back the tab washer and unscrew the nut,
pull off the tab washer and perforated key washer(35)
and unscrew the inner nut (34) and simply pull the hub off the stub axle by hand.
The numbers refer to the exploded view also shown at the start of this page.
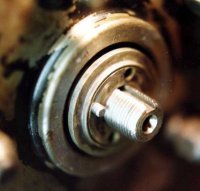
Half way through production Rover swapped from having a LH thread on the left hand side and a RH thread
on the right hand side, to the converse.
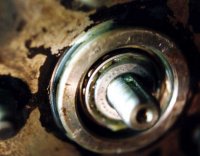
It happened sometime in 1957. The only way to be sure is look carefully at the bit of thread protruding,
or run your thumbnail round it.

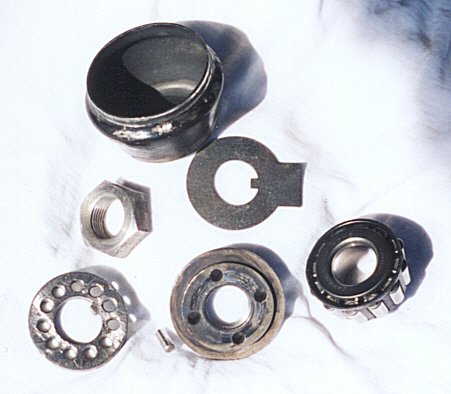
Here are the hub cap proper, nut, tab washer, key washer, dowel, inner nut and outer bearing cage,
shown left to right, top to bottom.
To remove the bearing races from the hubs you'll need a pretty narrow hard drift.
Make certain that you are actually hitting the back edge of the race and not the inner curve of the hub casting!
The hub is best held in the vice by the disc using suitable face cheeks to prevent damage.
Drive the races out squarely by rotating the job every few blows.
Driving out the larger race will also push out the oil seal and release the bearing cage.
Thoroughly clean out the inside of the hub, and refit new races squarely using suitable drifts.
Take care not to damage the hub casting.
Plaster the inner surfaces of the hub with suitable grease then
thoroughly grease and drop in the larger bearing cage and fit the oil seal squarely using a block of wood and hammer.
Grease the lip of the oil seal to prevent it squeaking.
I forgot to do this once and had to take the whole lot apart again after a few weeks on the road!
Smear the whole stub axle with grease and offer the hub to it. Cleanliness is essential!
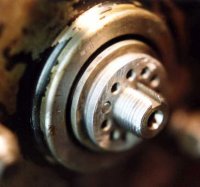
Slide on the smaller bearing cage as shown below.

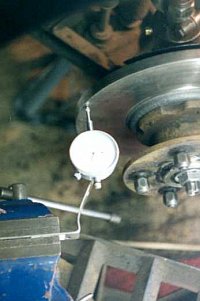
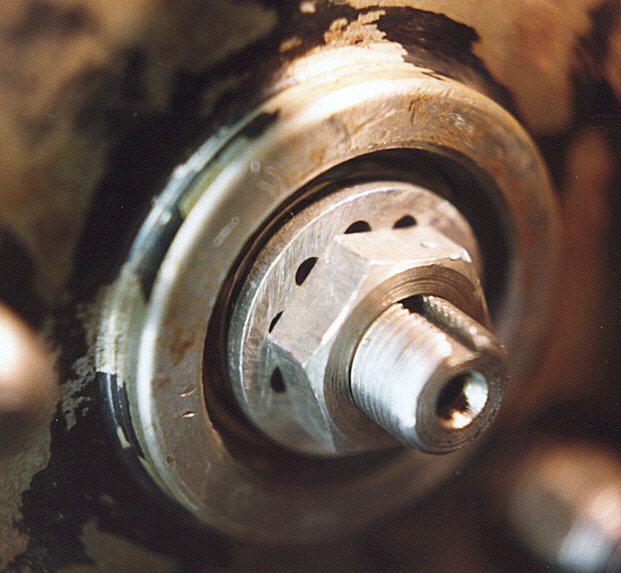
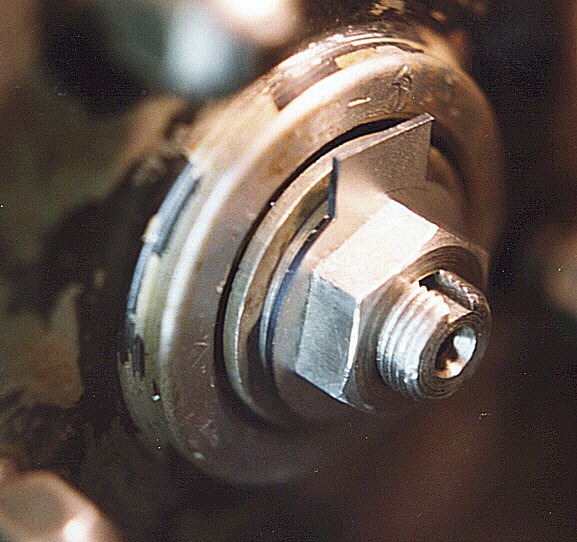
When measuring run-out the workshop manual says you must use a special tool to tighten the inner nut sufficiently
to remove all end float. You do not need this! Just put on the key washer and tighten the nut up against it as shown here.

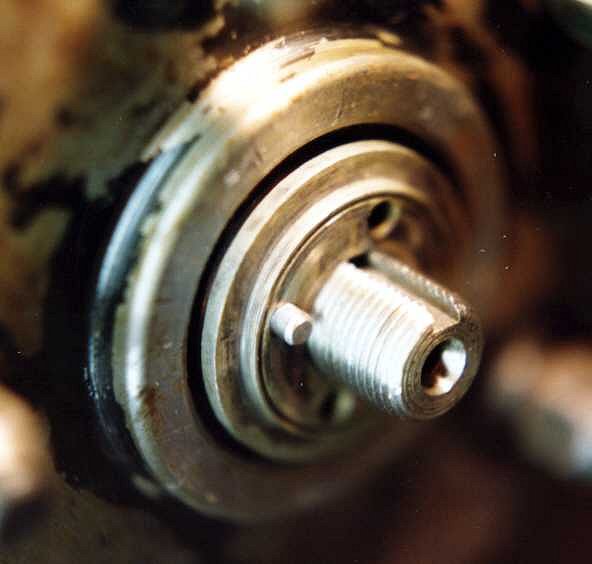
When setting end float the reading changes as the outer nut is tightened due to movement of the inner nut
on the stub axle thread. A quick way of getting a good setting is to assemble the thing omitting the key washer this time.
The outer nut can then be slackened, the inner nut adjusted using fingertips, then the outer re-tightened etc.
until the correct setting is found.
The tab washer only allows the outer nut to turn the inner nut by about as much as it will upon final assembly,
so the setting you get is usually quite representative.

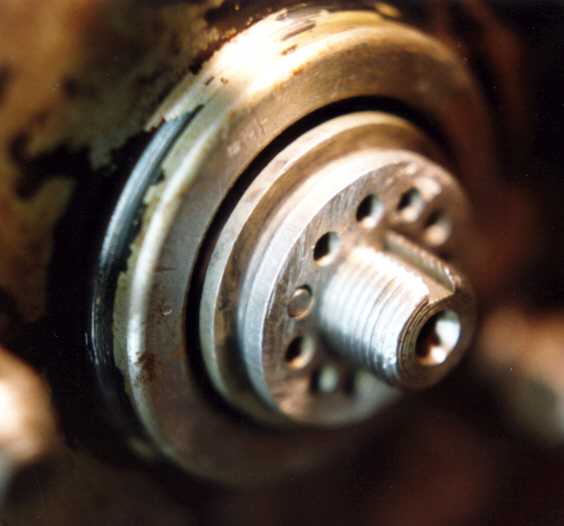
When the correct setting is found, the keywasher can be positioned whichever way round enables the dowel
to be pushed through a pair of aligned holes. If none of them quite line up,
I would slacken the inner nut fractionally rather than tighten it.
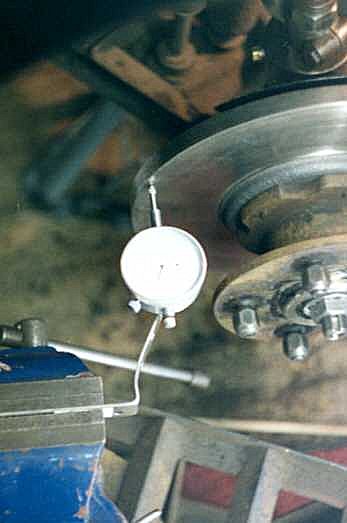
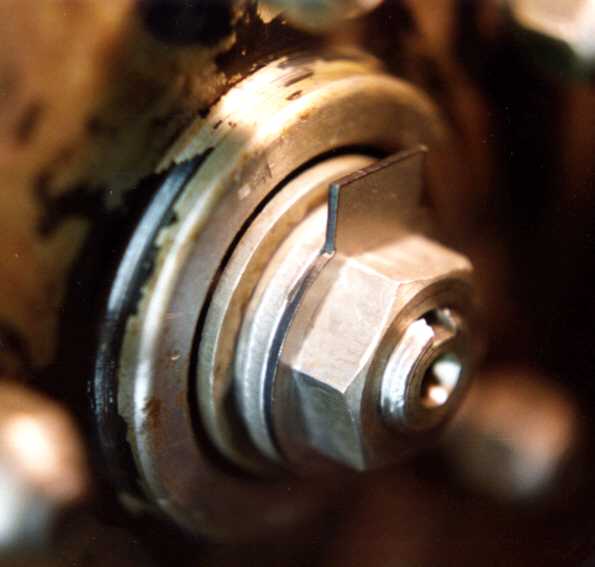
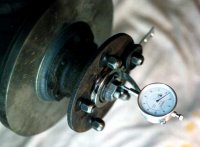
These pictures show how the whole thing is assembled ready for the tab washer to be bent over.
No torque setting is given for the outer nut, so I opted for 60 foot pounds.
Incidentally I found that both my hubs had been tightened up to remove all end float
when the previous bearings were fitted.
Moreover with 0.003 inch end float as specified, I found the hub had more play than I was happy with, top and bottom,
but was OK side to side.
This seemed to be due to barely perceptible wear on the underside of the stub axle where the outer race sits.
I have been told that the limit for MOT failure is about quarter of an inch movement at the wheel perimeter,
so they would have been OK,
but in the end I adjusted them so that there was less play, and the bearing was still free.
Time will tell if this was the right thing to do, but the MOT tester said that they felt about right!
BACK TO THE TECHNICAL MENU
HOME